


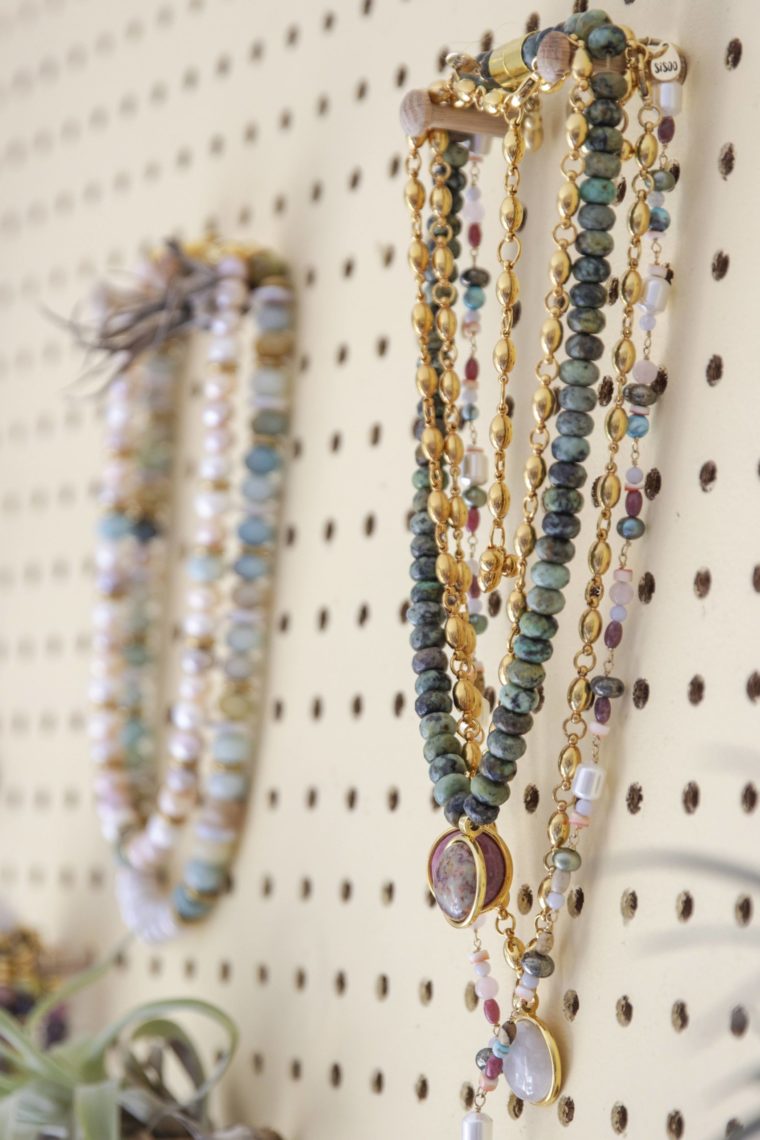
Here’s a new DIY idea to try: a pegboard jewelry display! My simple solution to organize all my jewelry is a super visual way.
I’ve been designing jewelry since (technically) the fourth grade. With designing comes many samples–some that I sell, and so so many that I keep.
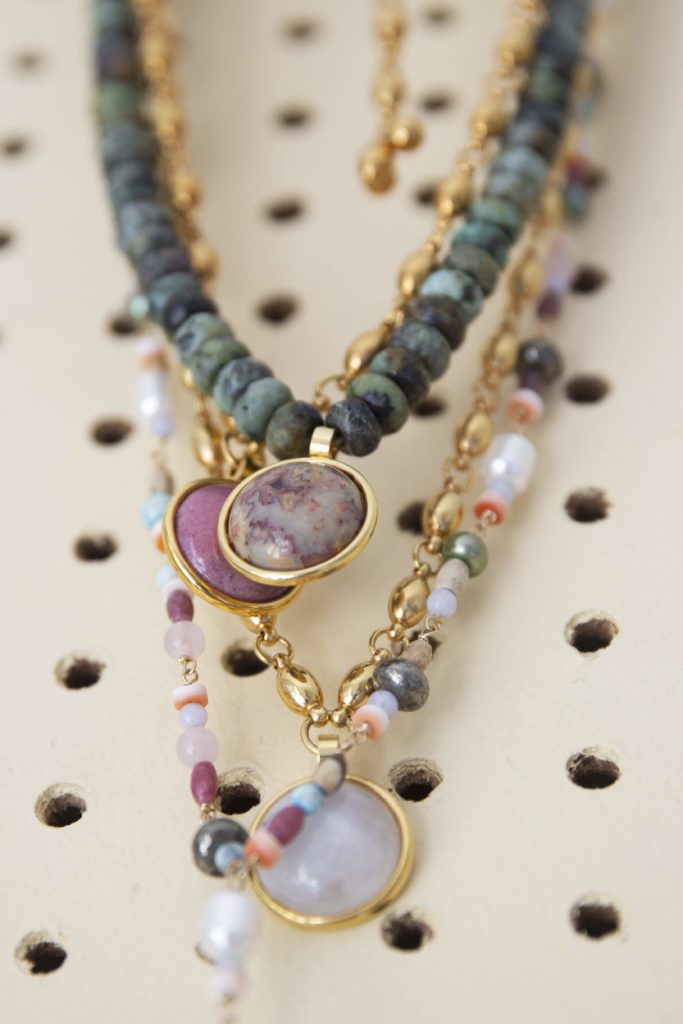
Organizing my many necklaces has proven itself to be the most challenging. They are the most bulky and delicate all at once. I’ve tried laying them all flat in drawers, but it’s not the best use of space.
Plus, there is something about being able to SEE what you’ve got.
Enter, the pegboard jewelry wall!
WHAT YOU NEED

- Wooden peg board, I used this 96 X48″ one, but you can use any size
- mini wooden pegs (these fit perfectly into my board)
- necklaces! (works for scarves, hats, stretch bracelets, small bags too)
OPTIONAL
- interior paint (I painted my pegboard to match my wall color)
- air plants
- plant glue (this kind works perfectly)
- extra wooden pegs for air plants
THE INSTRUCTIONS
- First mount your peg board to the wall. (I used spacers so that there is a small amount of space between the wall and the pegboard. I strongly recommend hiring someone on Task Rabbit if you aren’t up for installing a large heaving object yourself. Safety first!)
- OPTIONAL: I next painted the surface and the outer edges to cover up the wood, so that the entire pegboard matched with my wall color.
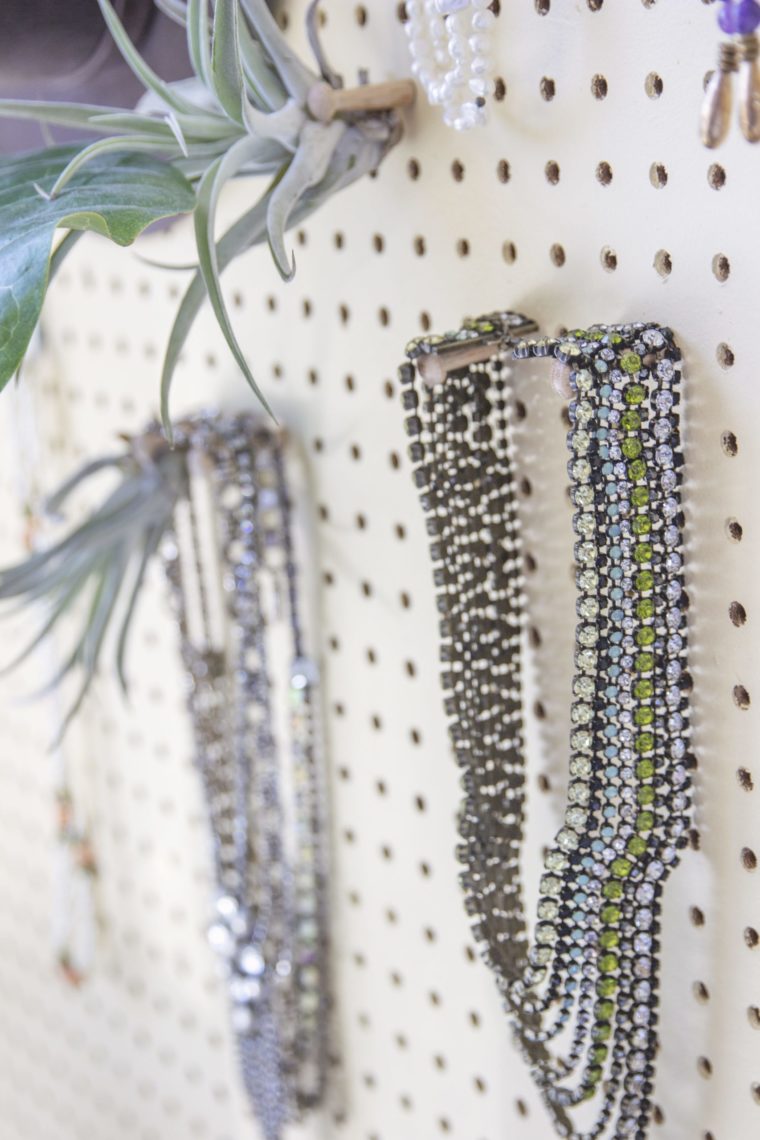
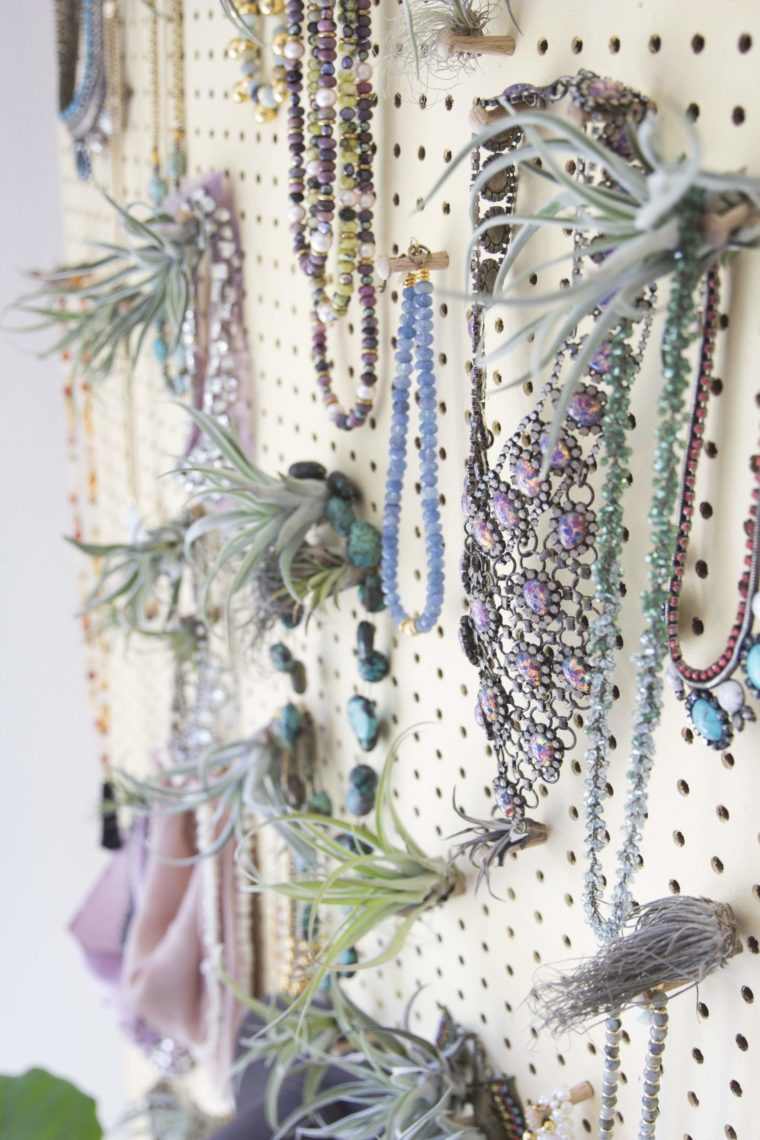
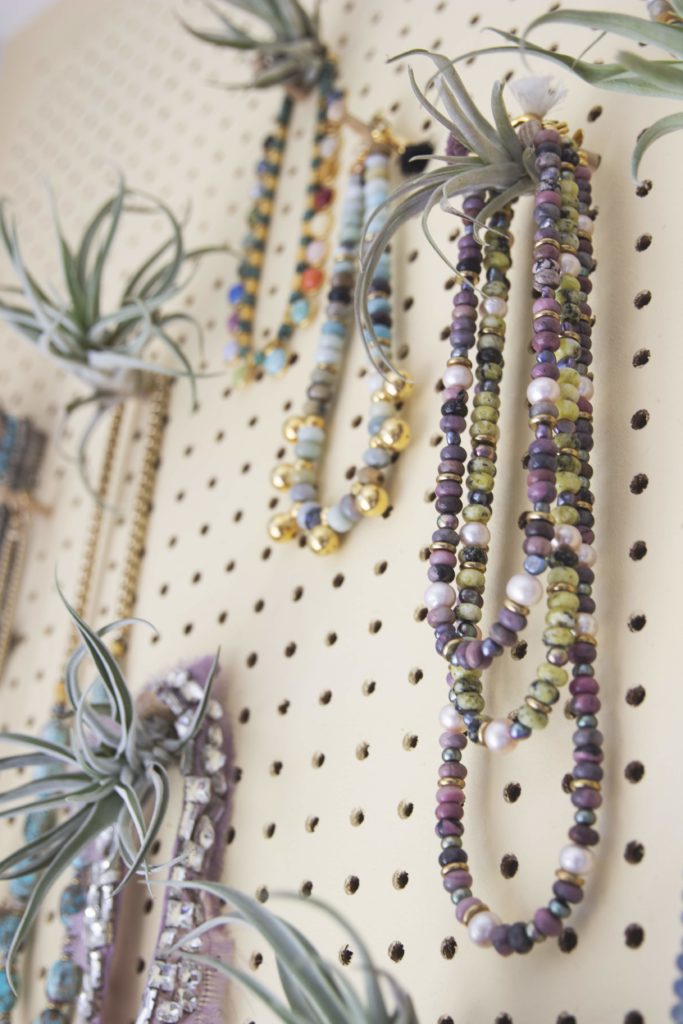
- OPTIONAL: While you are letting the paint dry, glue some of your (extra) wooden pegs onto the base of your air plants and let them dry for a good 24 hours. This was fun to add to my pegboard (because it’s so large!) to fill empty spaces and give it a little oomph and texture. Note! My pegboard is also next to a big bright window that keeps the air plants happy. Every 2-3 weeks I’ll lightly mist the air plants (but I set aside any metal jewelry before misting). These plants are so incredibly low maintenance–but they do require plenty of light.
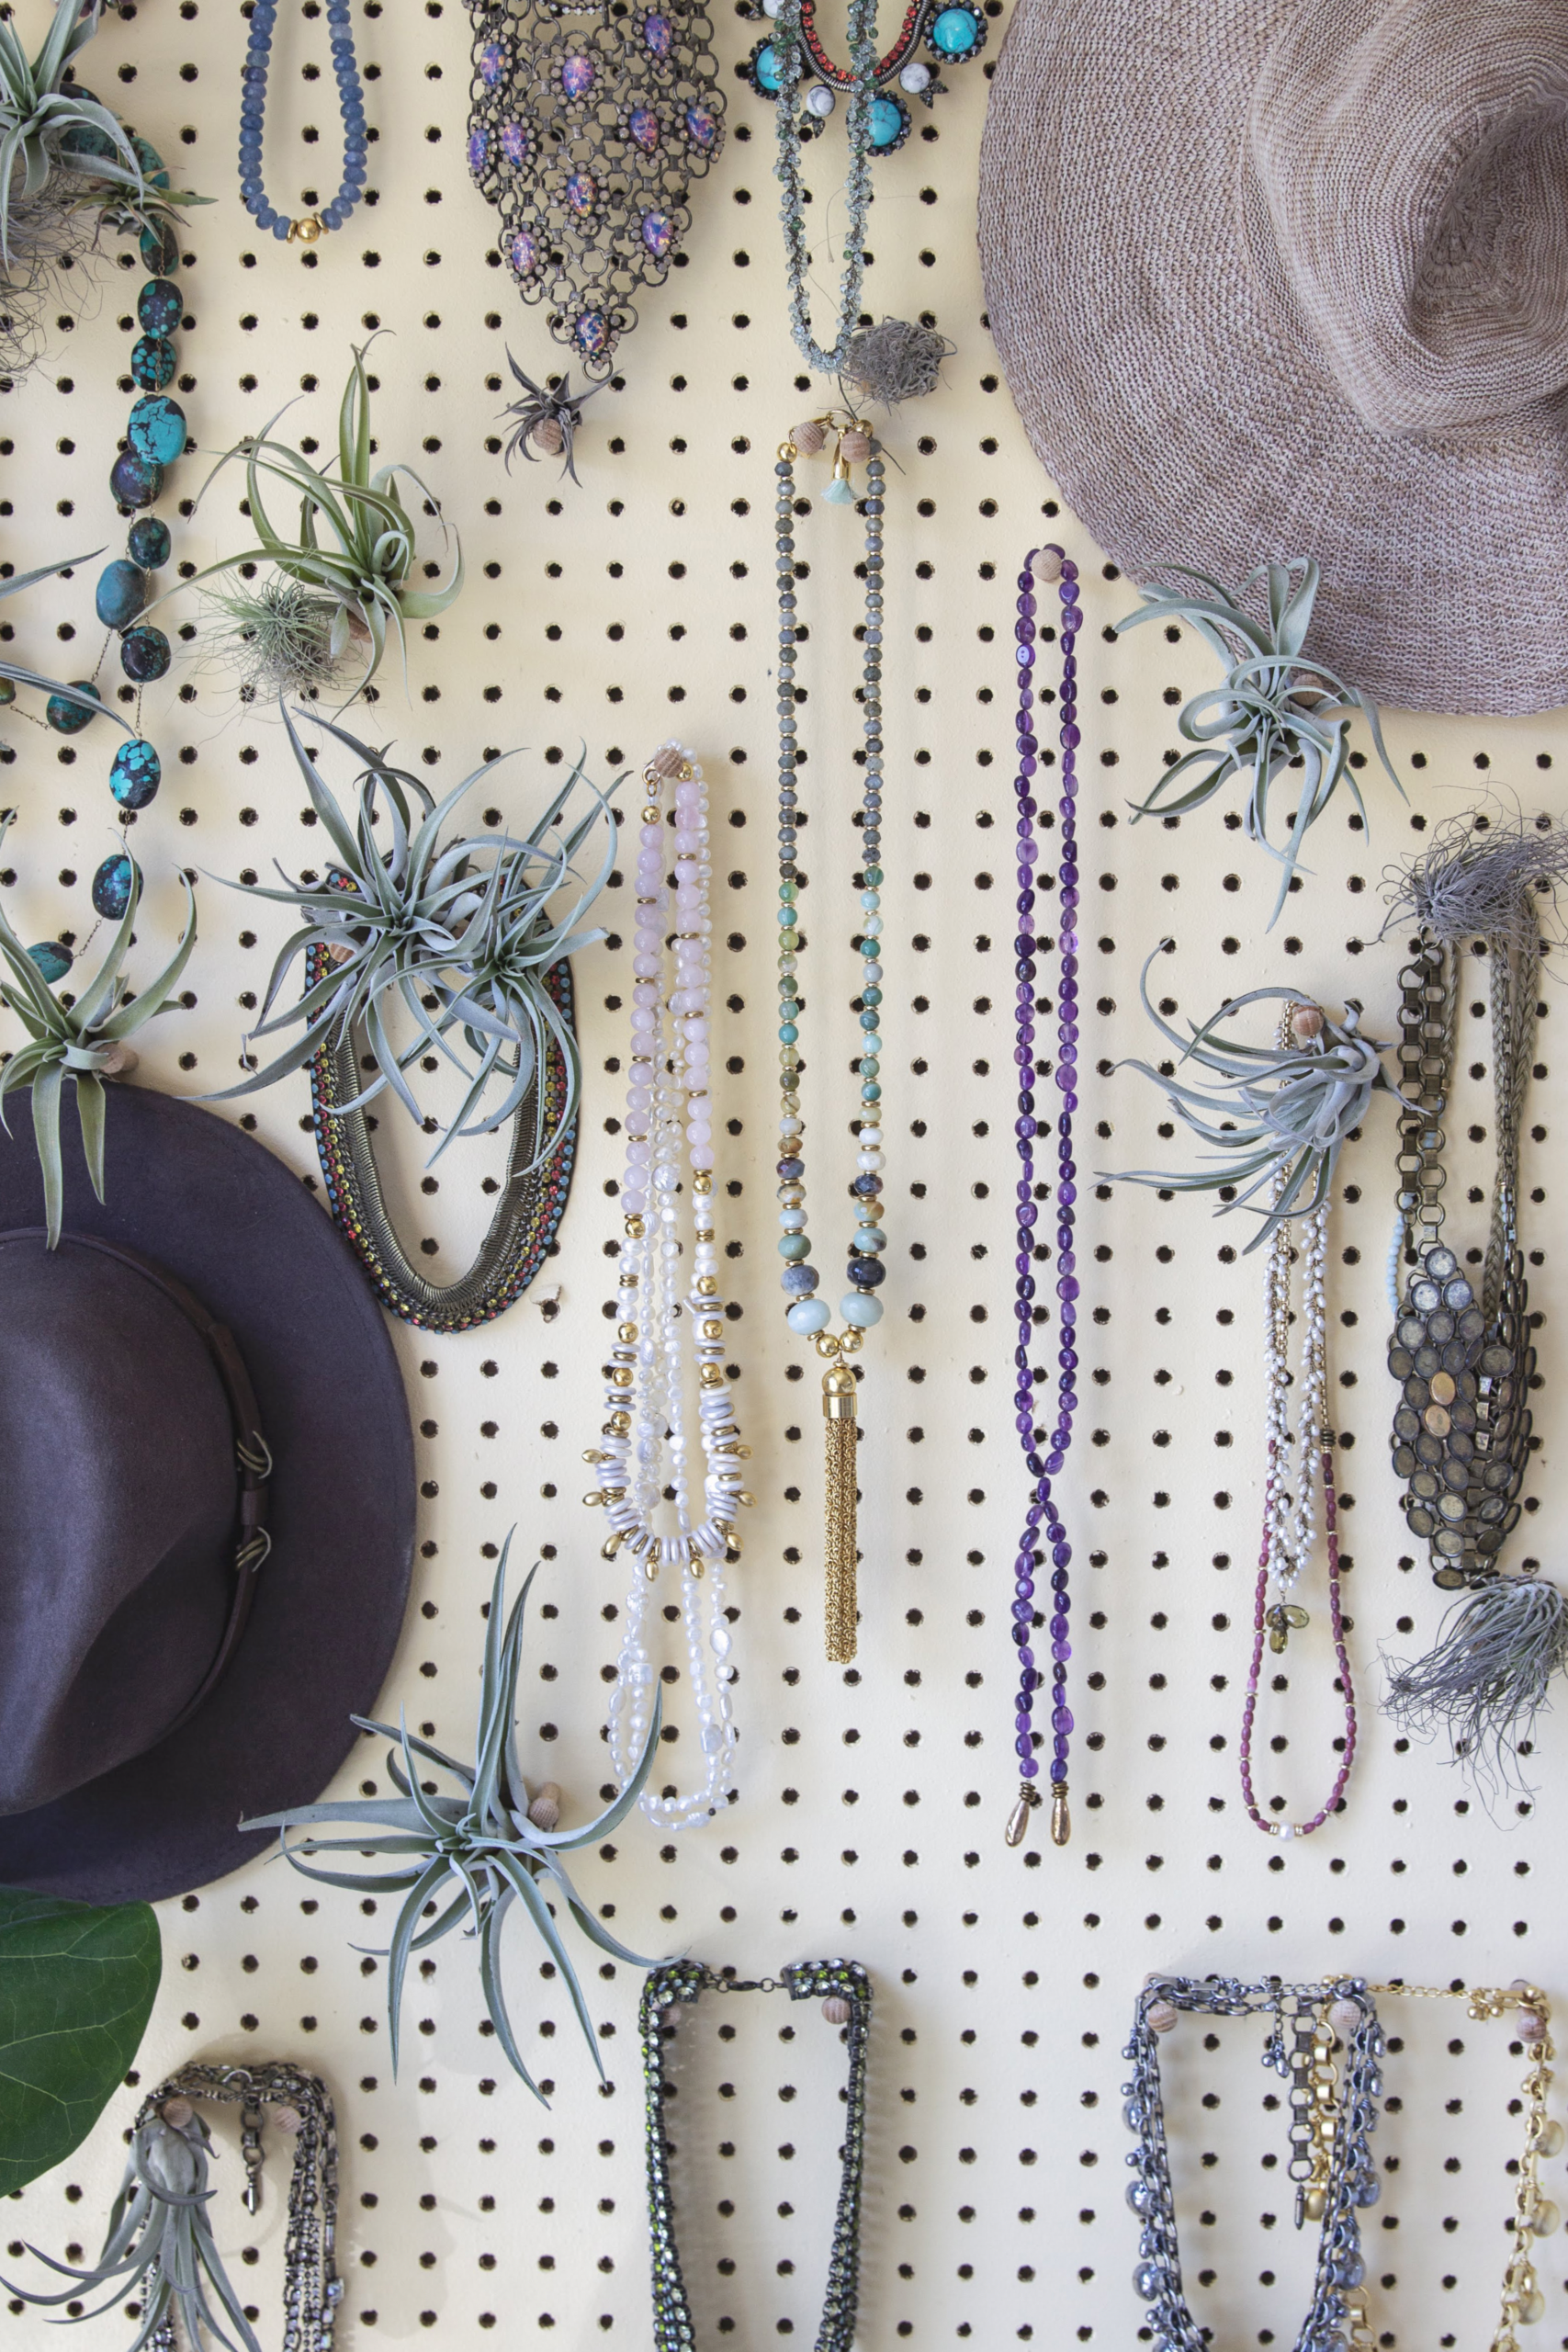
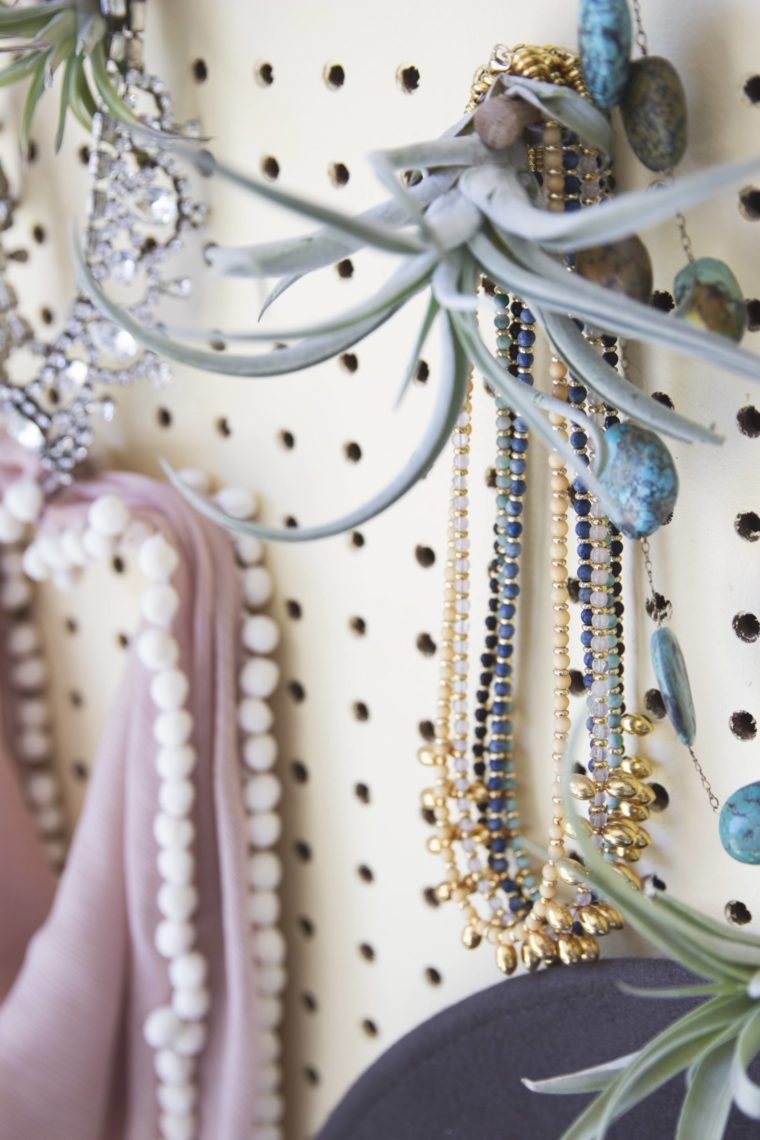
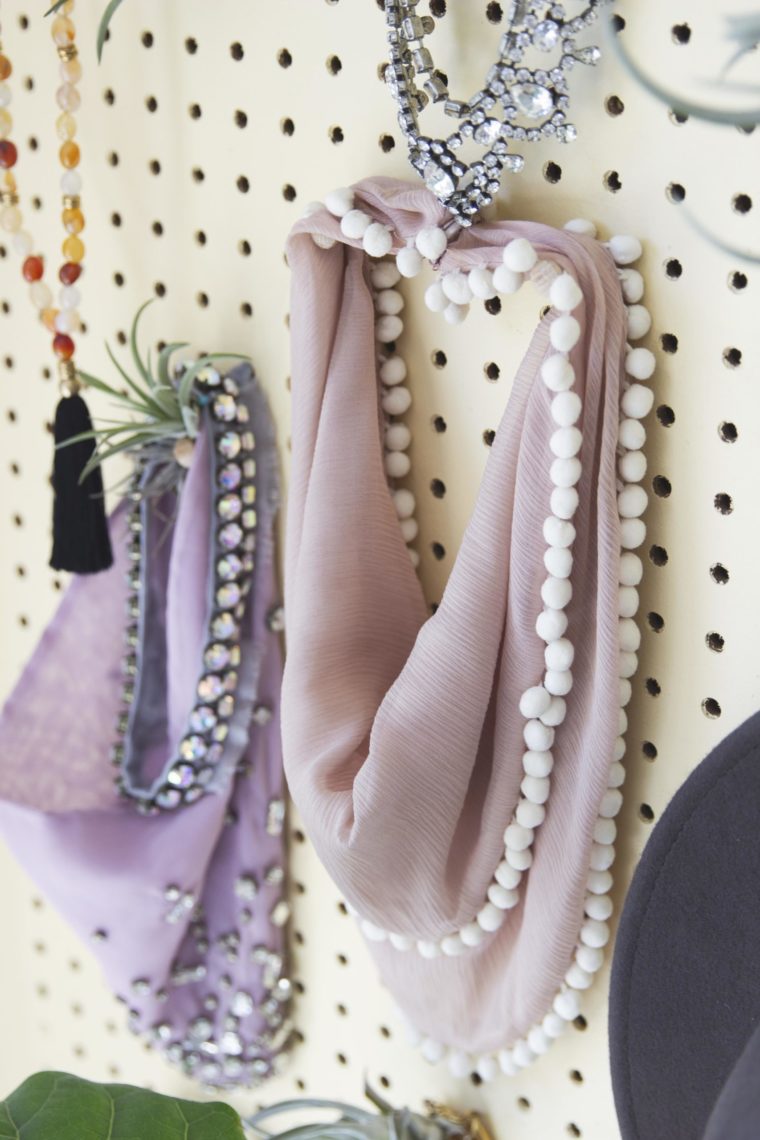
- Once the paint and plants are dry, start placing your wooden pegs into your pegboard. Add short and long necklaces, scarves, stretch bracelets, and don’t forget hats! I also put some lightweight bags at the bottom of my board. Play with the layout. I like how the hats and the texture of the air plants fill in empty gaps and also make the pegboard so interesting and dimensional.
THOUGHTS
- This would be fabulous on a big bare wall in a big walk in closet.
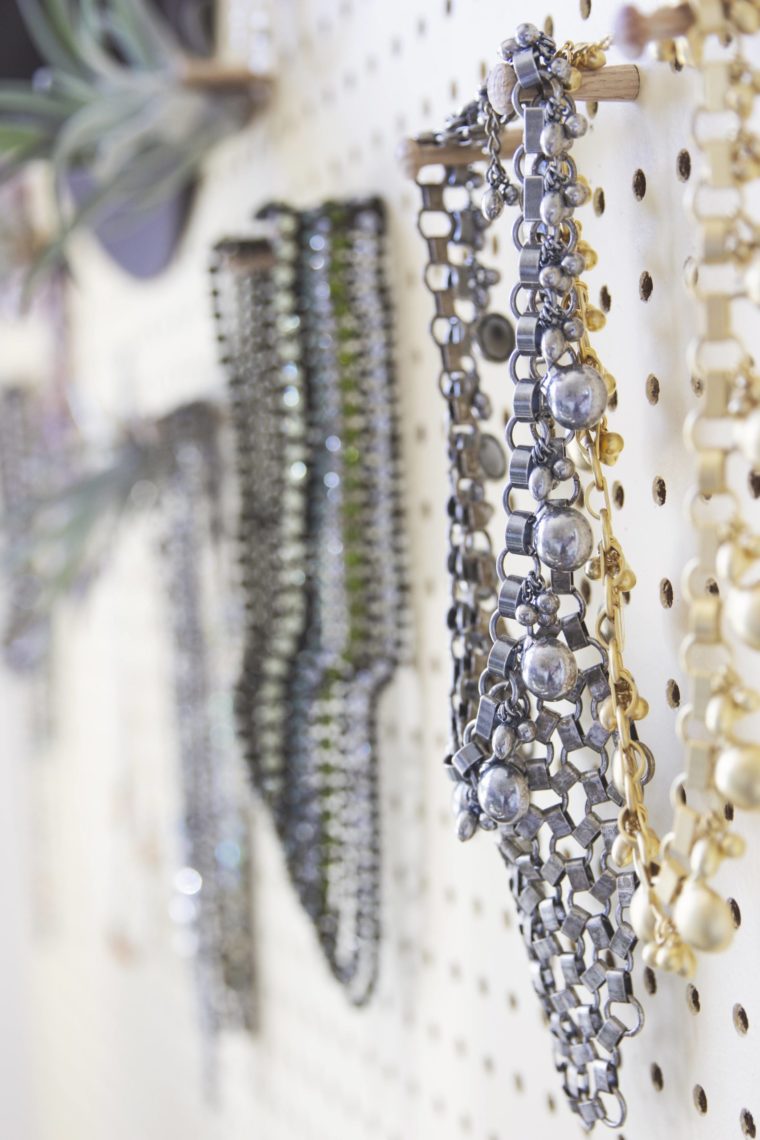
- Try layering several necklaces per peg. If you have the same piece in several colors, it’s easier to find if you keep them together on the same peg.
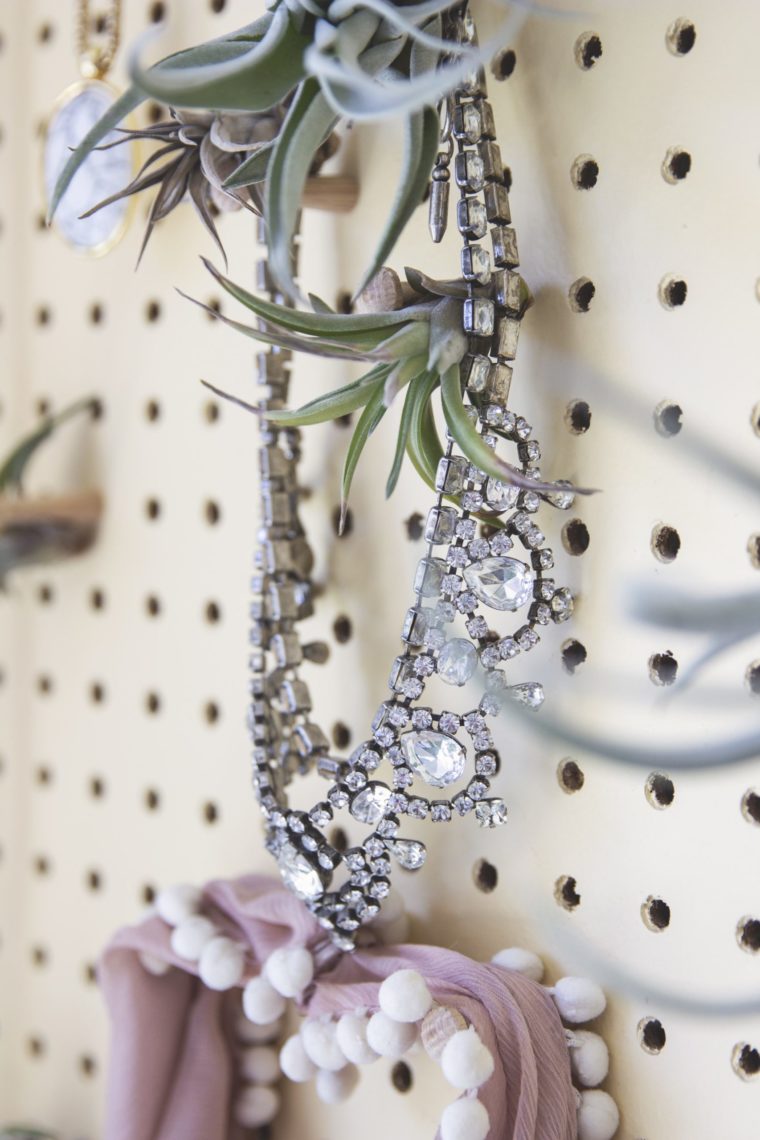
- For bigger pieces, hang the necklace from two pegs (a few holes apart) instead of just one peg. This will give it a wider base and allow the necklace to display better.
- PLEASE USE WOODEN PEGS and do not use metal pegs! Mixing metals will tarnish fashion jewelry. So if you lay your piece on a metal peg, over time, it will oxidize both the peg and the jewelry. The wooden peg is harmless, and a safer bet to keep your jewelry collection untarnished, sparkling, beautiful.

This post may contain affiliate links, which means I'll receive a small commission if you purchase through my link. Read the full disclosure.


