
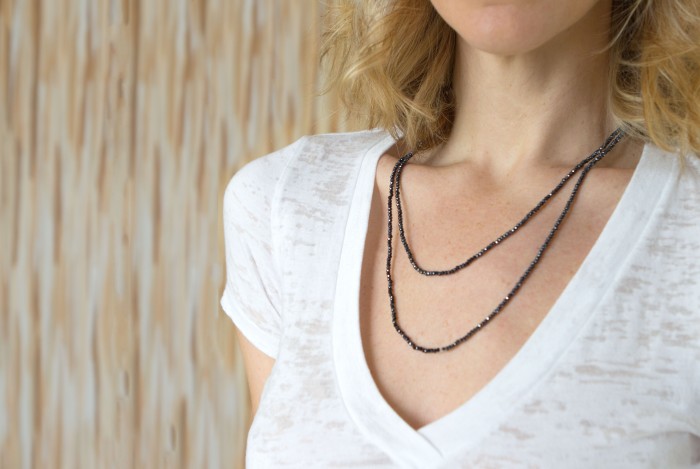


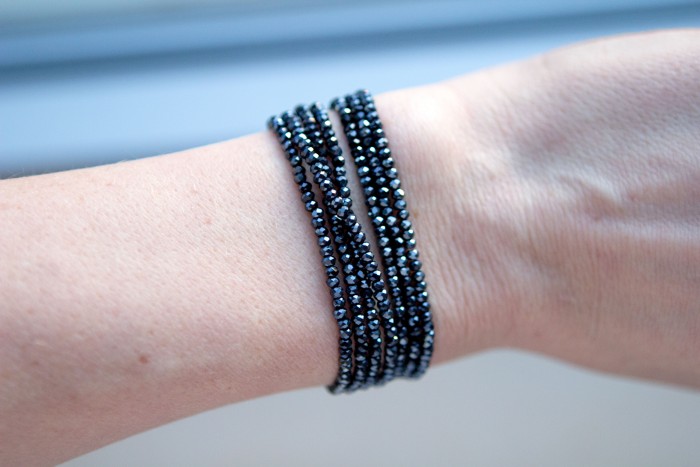
 This is a fairly easy (yet somewhat tedious) DIY beading project. The steps aren’t hard by any measure, but I recommend having ample amounts of patience, and great dexterity to string these tiny little beads onto elastic. I love this beaded two in one piece because….how great are things we can wear more than one way? Also, I’m always looking for easy pieces to take on trips with me: this travels well, it’s inexpensive, and you can wear it differently throughout your time away. Bring on the multi-functionality!
WHAT YOU NEED
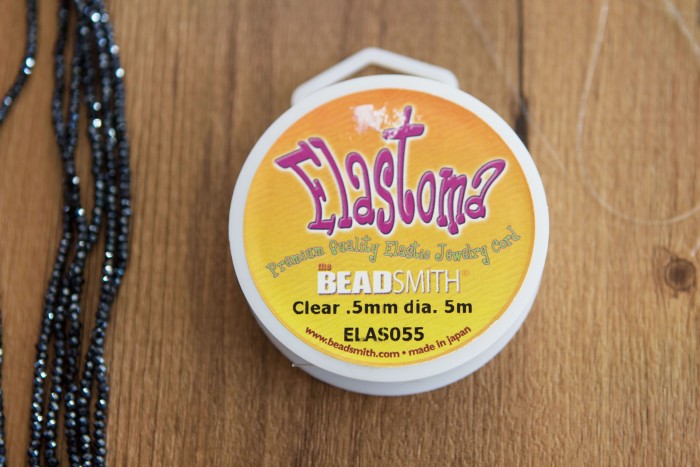
3mm glass crystal beads (I found mine in a bead shop in NYC, but Etsy is a great resource)
Scissors

THE INSTRUCTIONS
Measure and cut a long piece of elastic however long you would like your necklace/bracelet. I made mine about 36″ long. Tie a double knot at one end, leaving about 2.5 inches at the end.
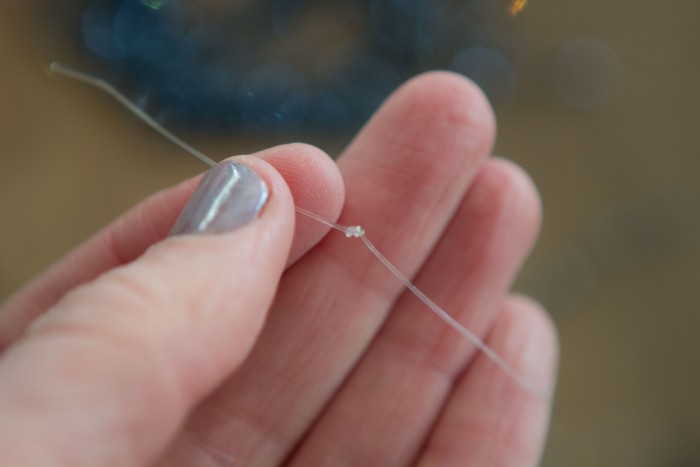
Thread your elastic into the beading wire loop, you now are ready to use the other end of the beading wire as a needle to thread through the string of glass beads.

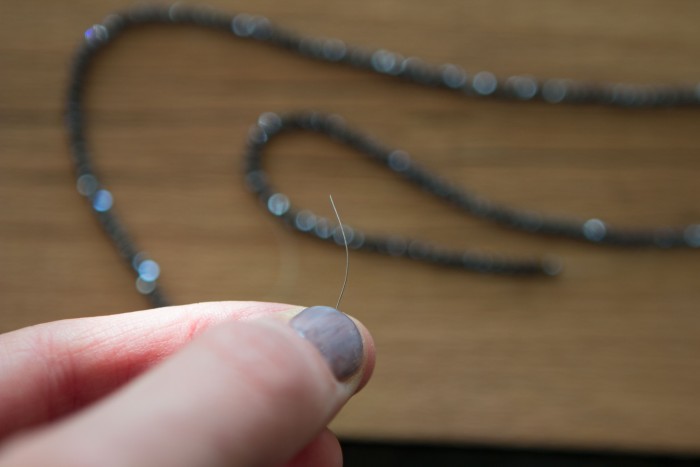
The easiest and cleanest way to do this is to leave the beads strung on their buy viagra online australia forum original wire, and to thread your beading wire through them and grab a long line of them at once.
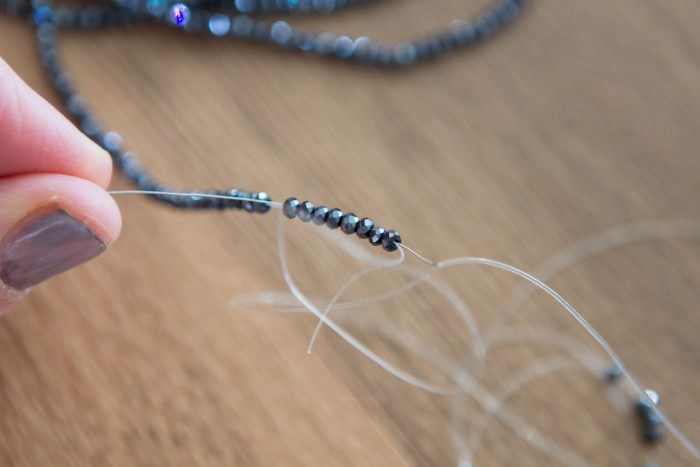
Once you thread through the original string of beads, pull them off and onto your beading wire needle, and then push them all the way down the elastic. Because the loop of the beading wire is so fine, these tiny beads will fit through. (If you can find a steel needle head that is small enough, give that a try, but I find it’s impossible to thread the elastic through such a small needle head.)
Continue threading the needles until you have your desired length. Make a double knot at the very end, again leaving about 2.5″. Then tie the two ends together to finish. Double and triple knot to ensure the elastic will stay knotted. Trim ends, and your two in one is complete!

Because this is an elastic piece, you can easily wrap around your wrist several times without a clasp. Also, if I wanted to wrap three times around my neck, I could wear it as a choker.
Happy beading!
This post may contain affiliate links, which means I'll receive a small commission if you purchase through my link. Read the full disclosure.


