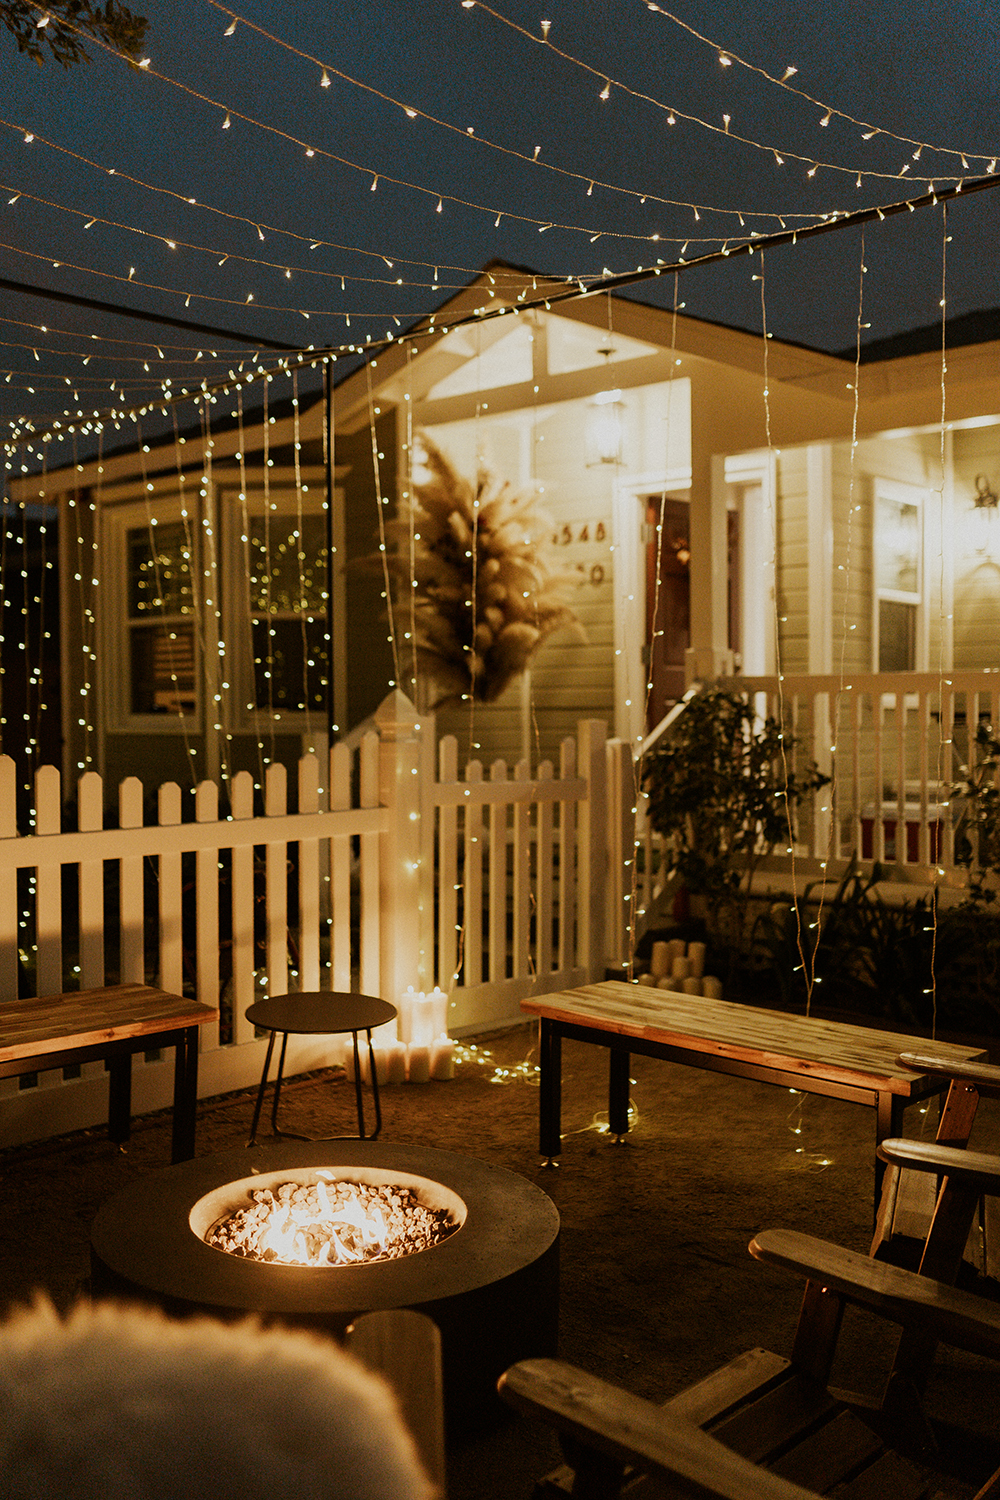
Whether you’re planning a romantic wedding, a cozy backyard party, or a special celebration, a DIY string light canopy instantly adds warmth, sparkle, and a dreamy atmosphere that will wow your guests.
The best part? You don’t need to be a professional to create this glowing oasis.
In this tutorial, I’ll walk you through building a sturdy and stunning canopy using simple fittings, pipes, and string lights.
By the end, you’ll have a magical centerpiece that turns your outdoor space into a picture-perfect setting.
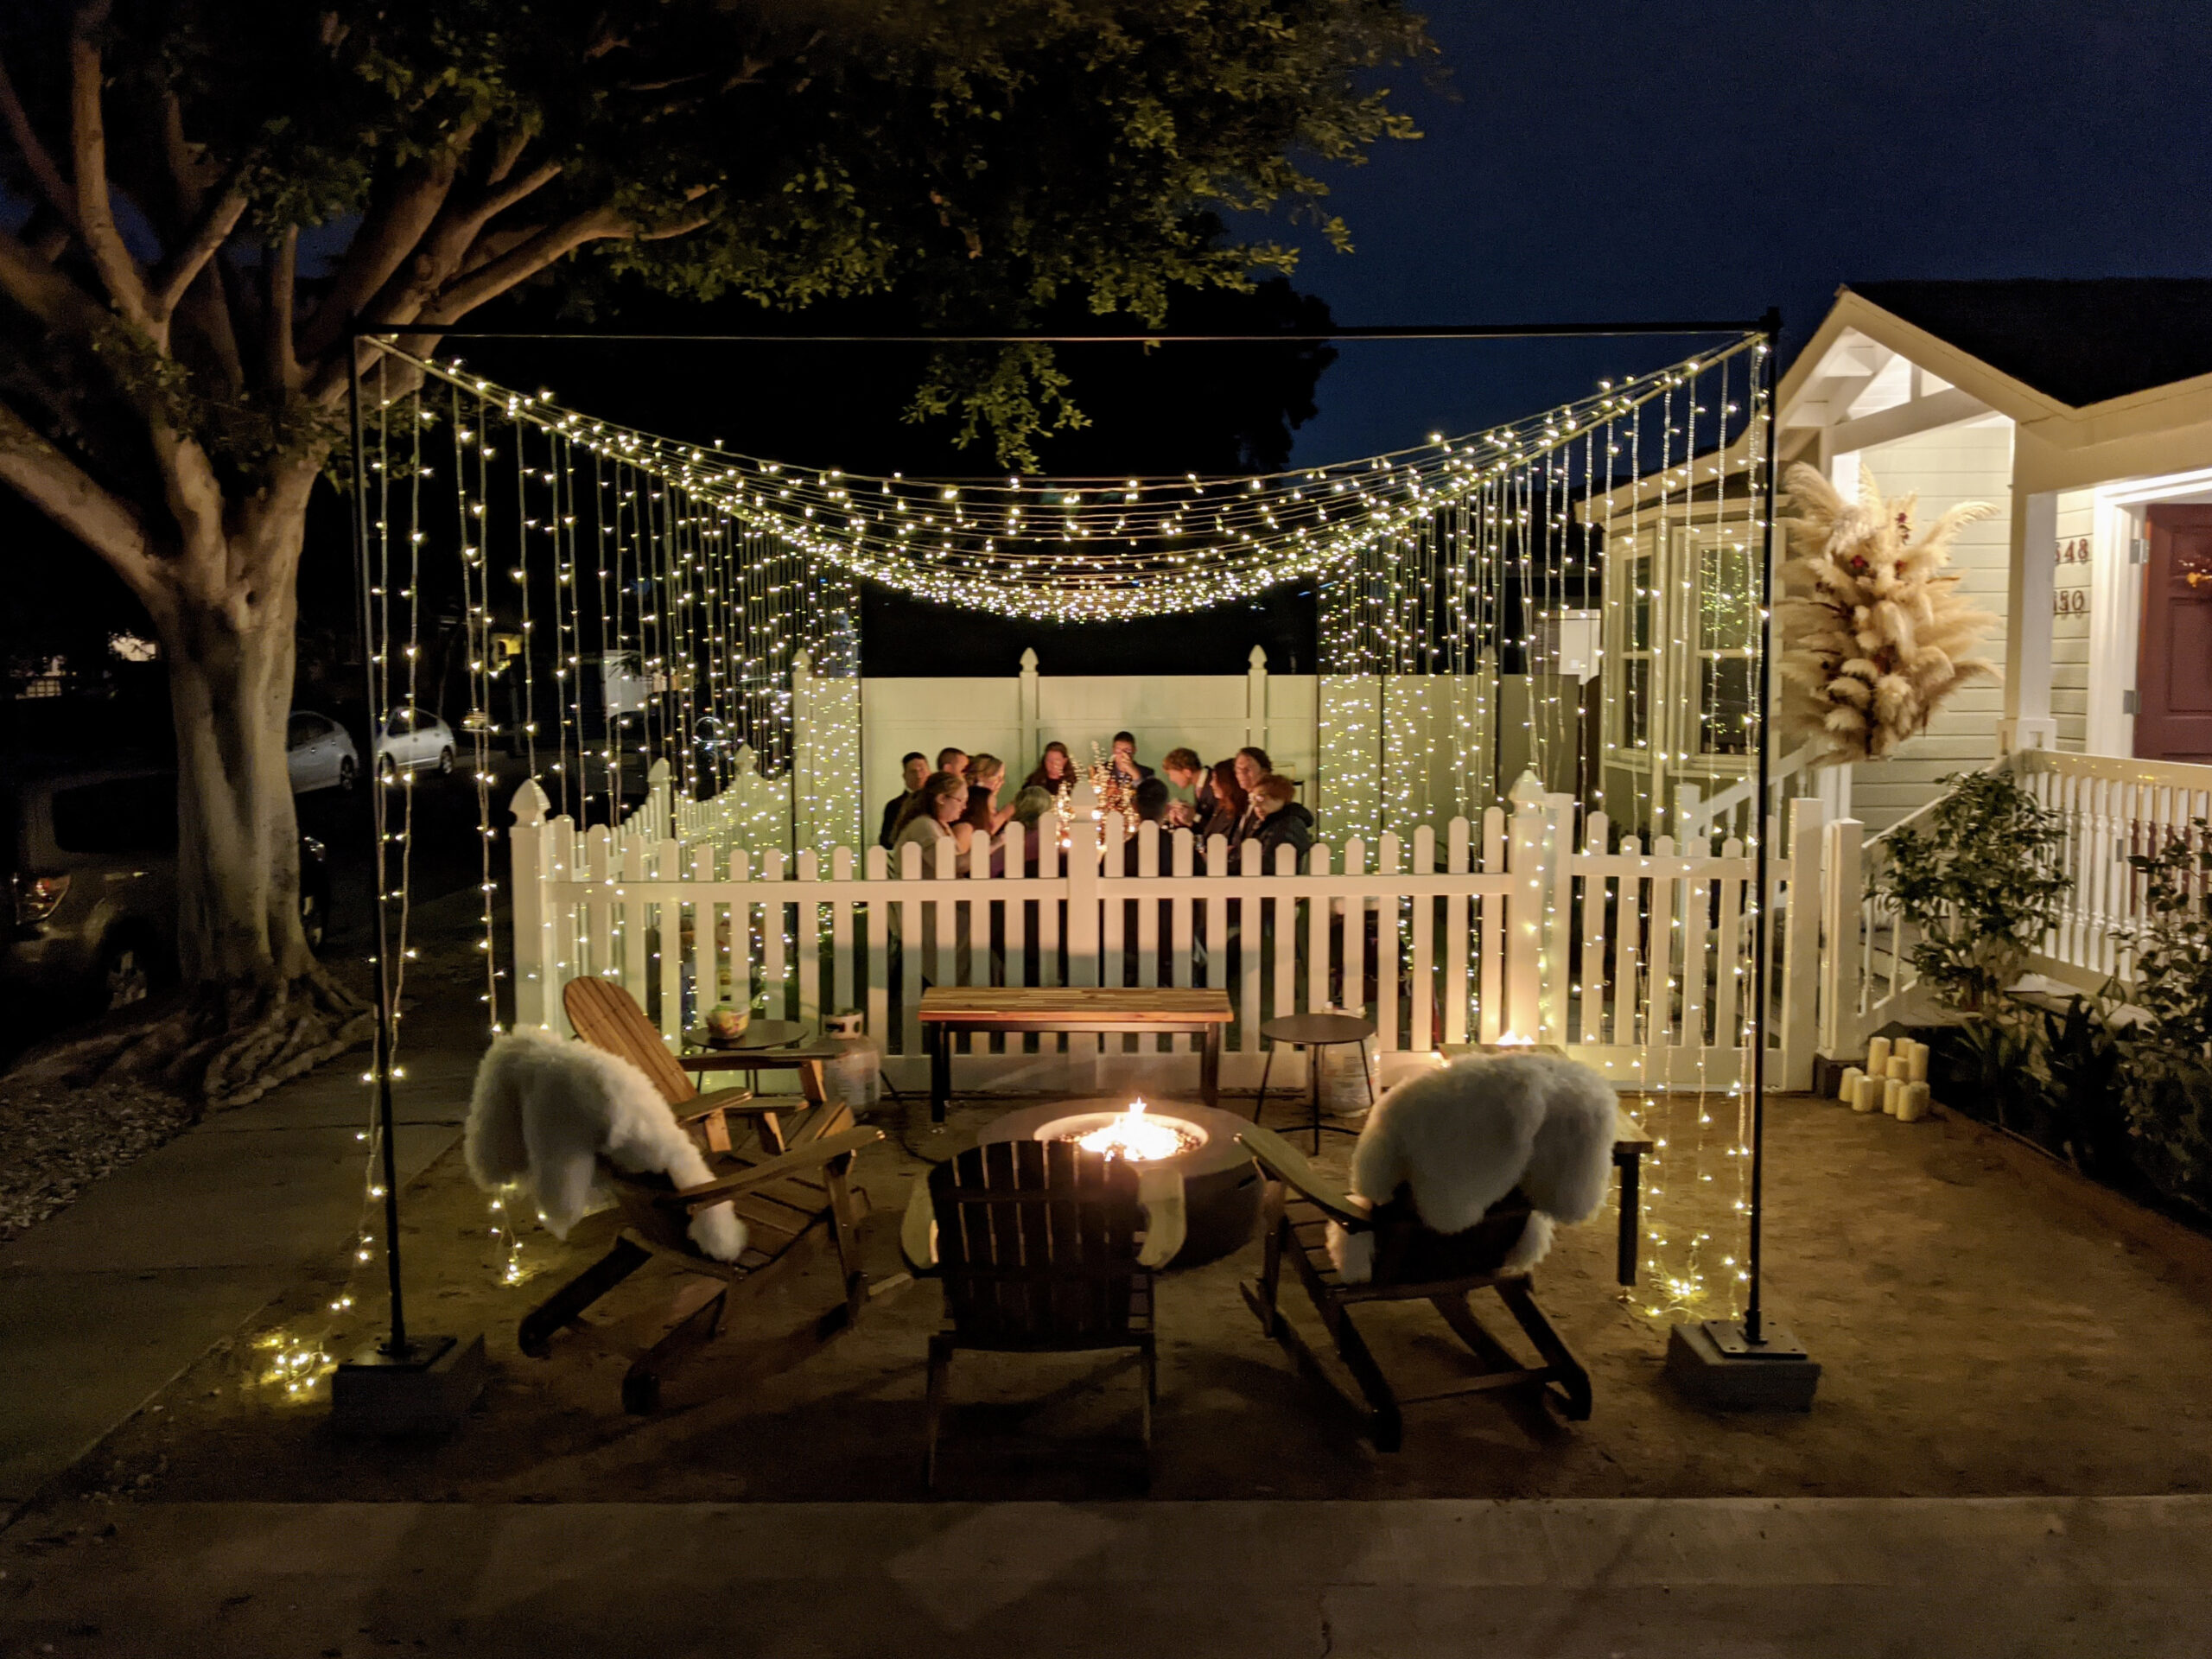
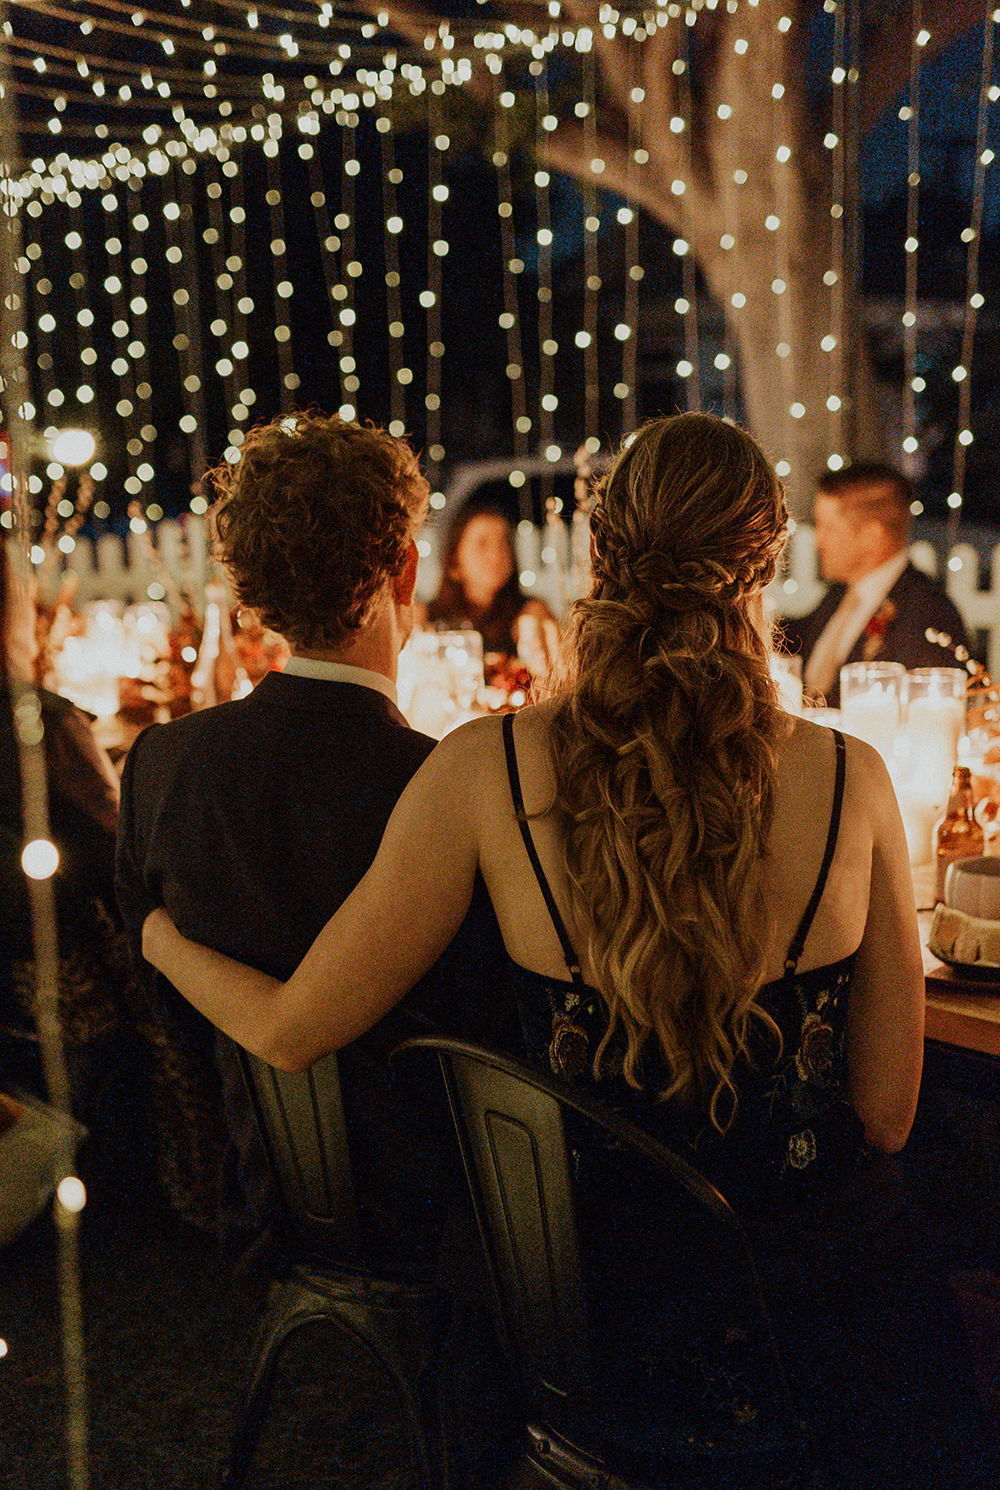
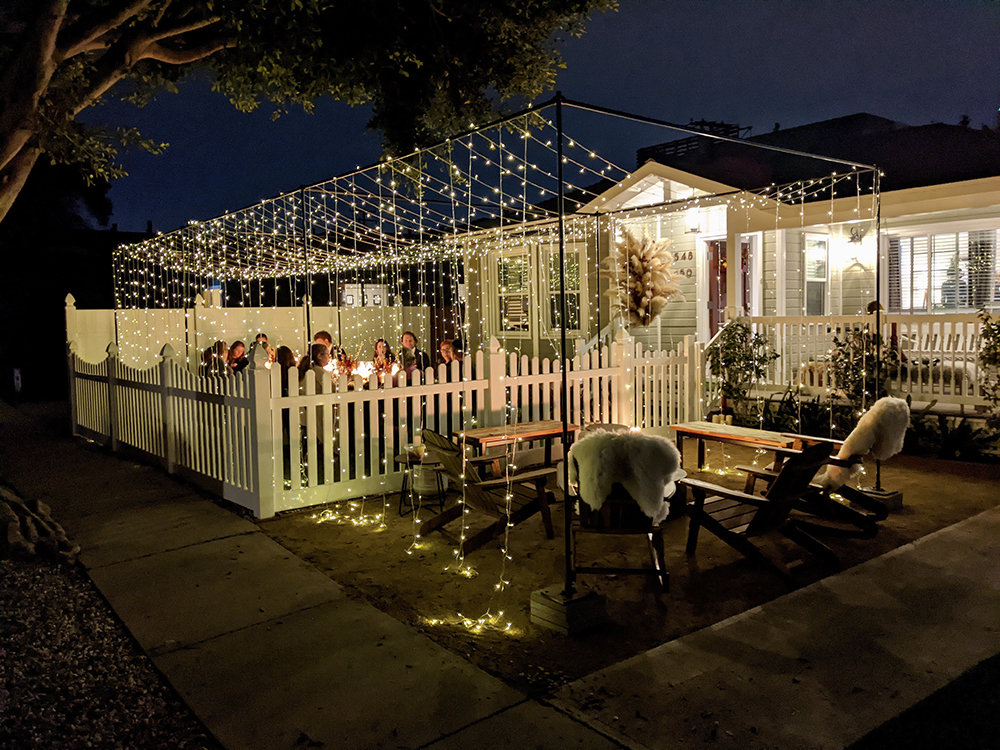
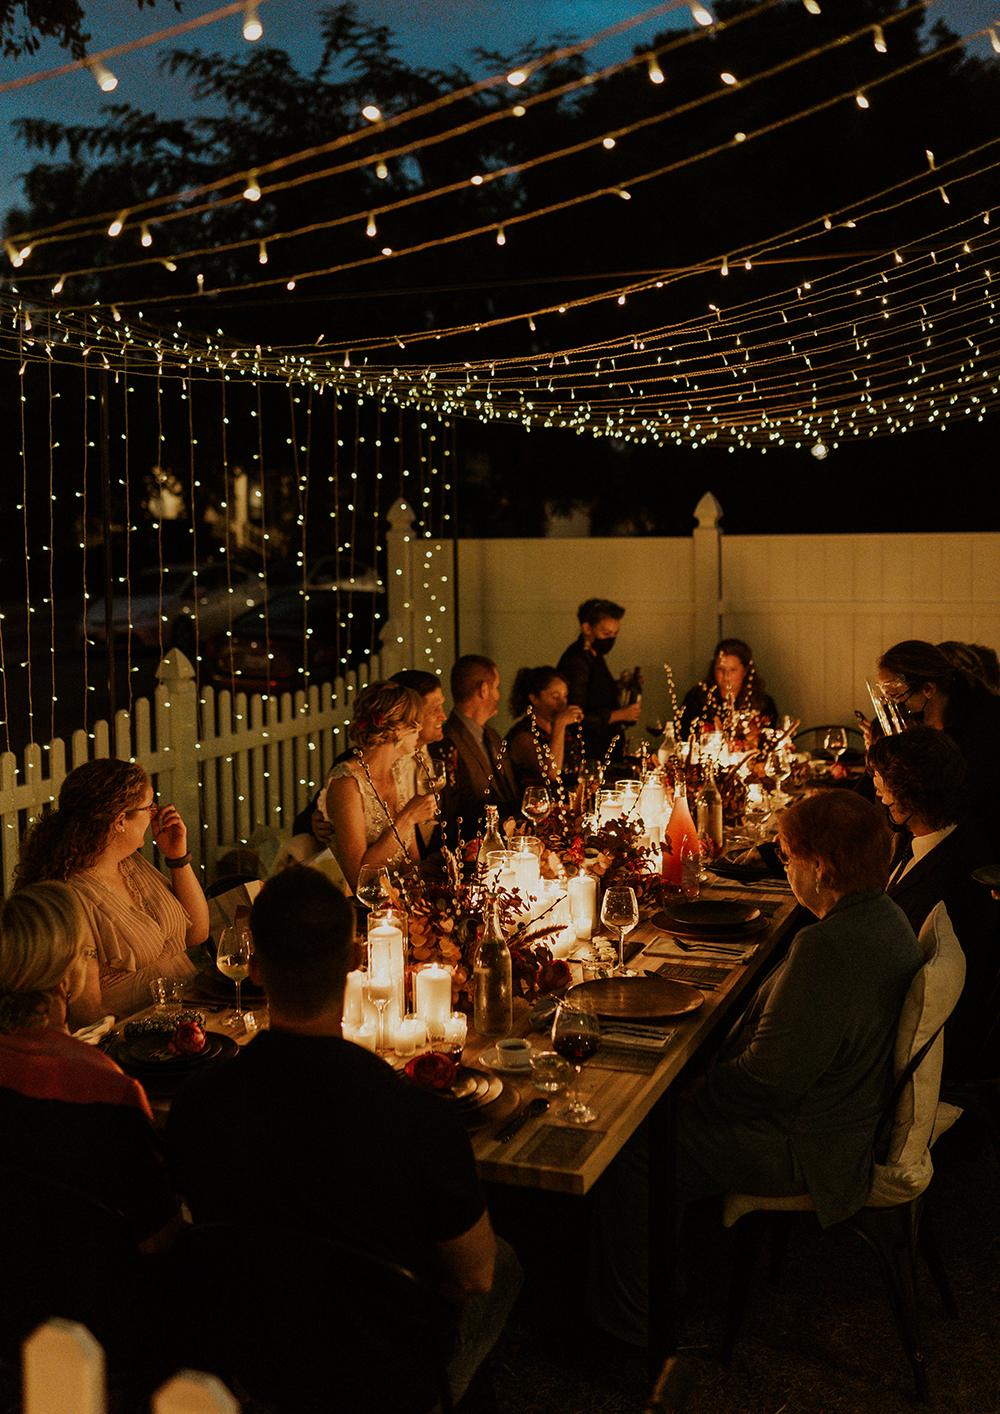
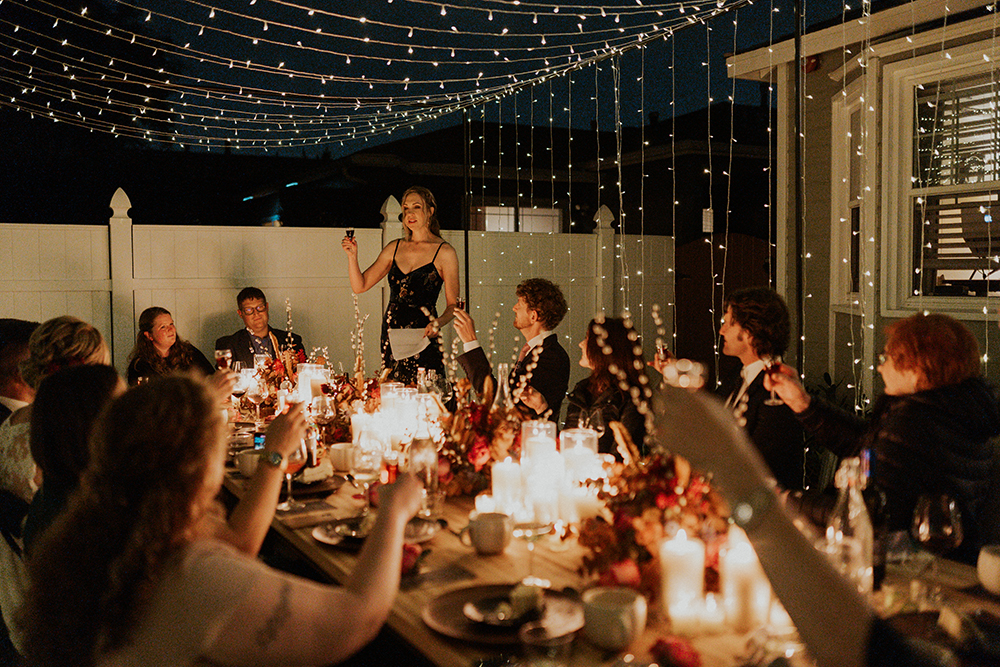
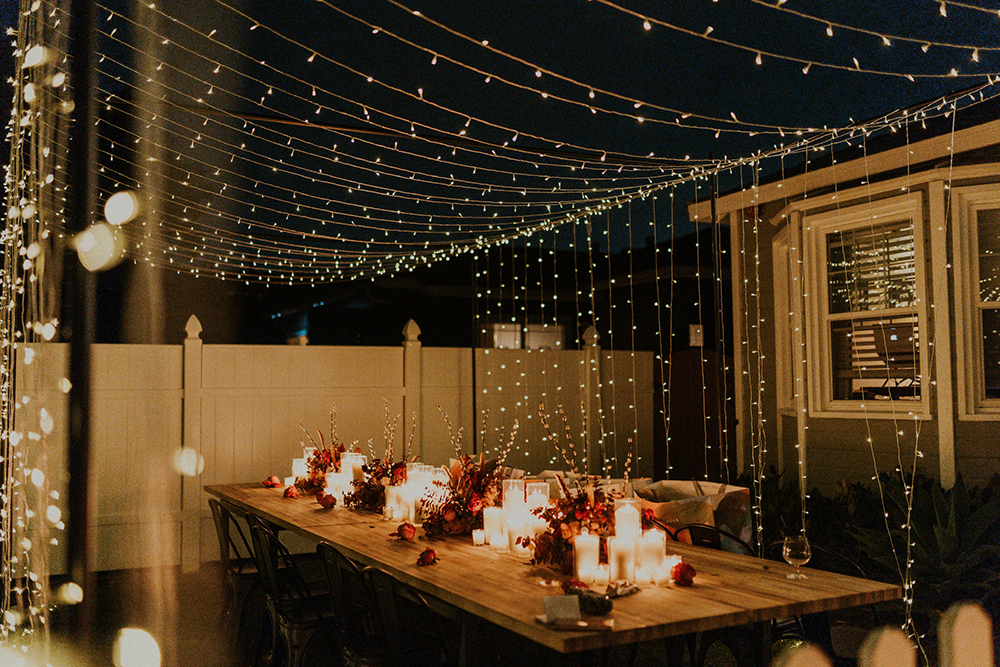
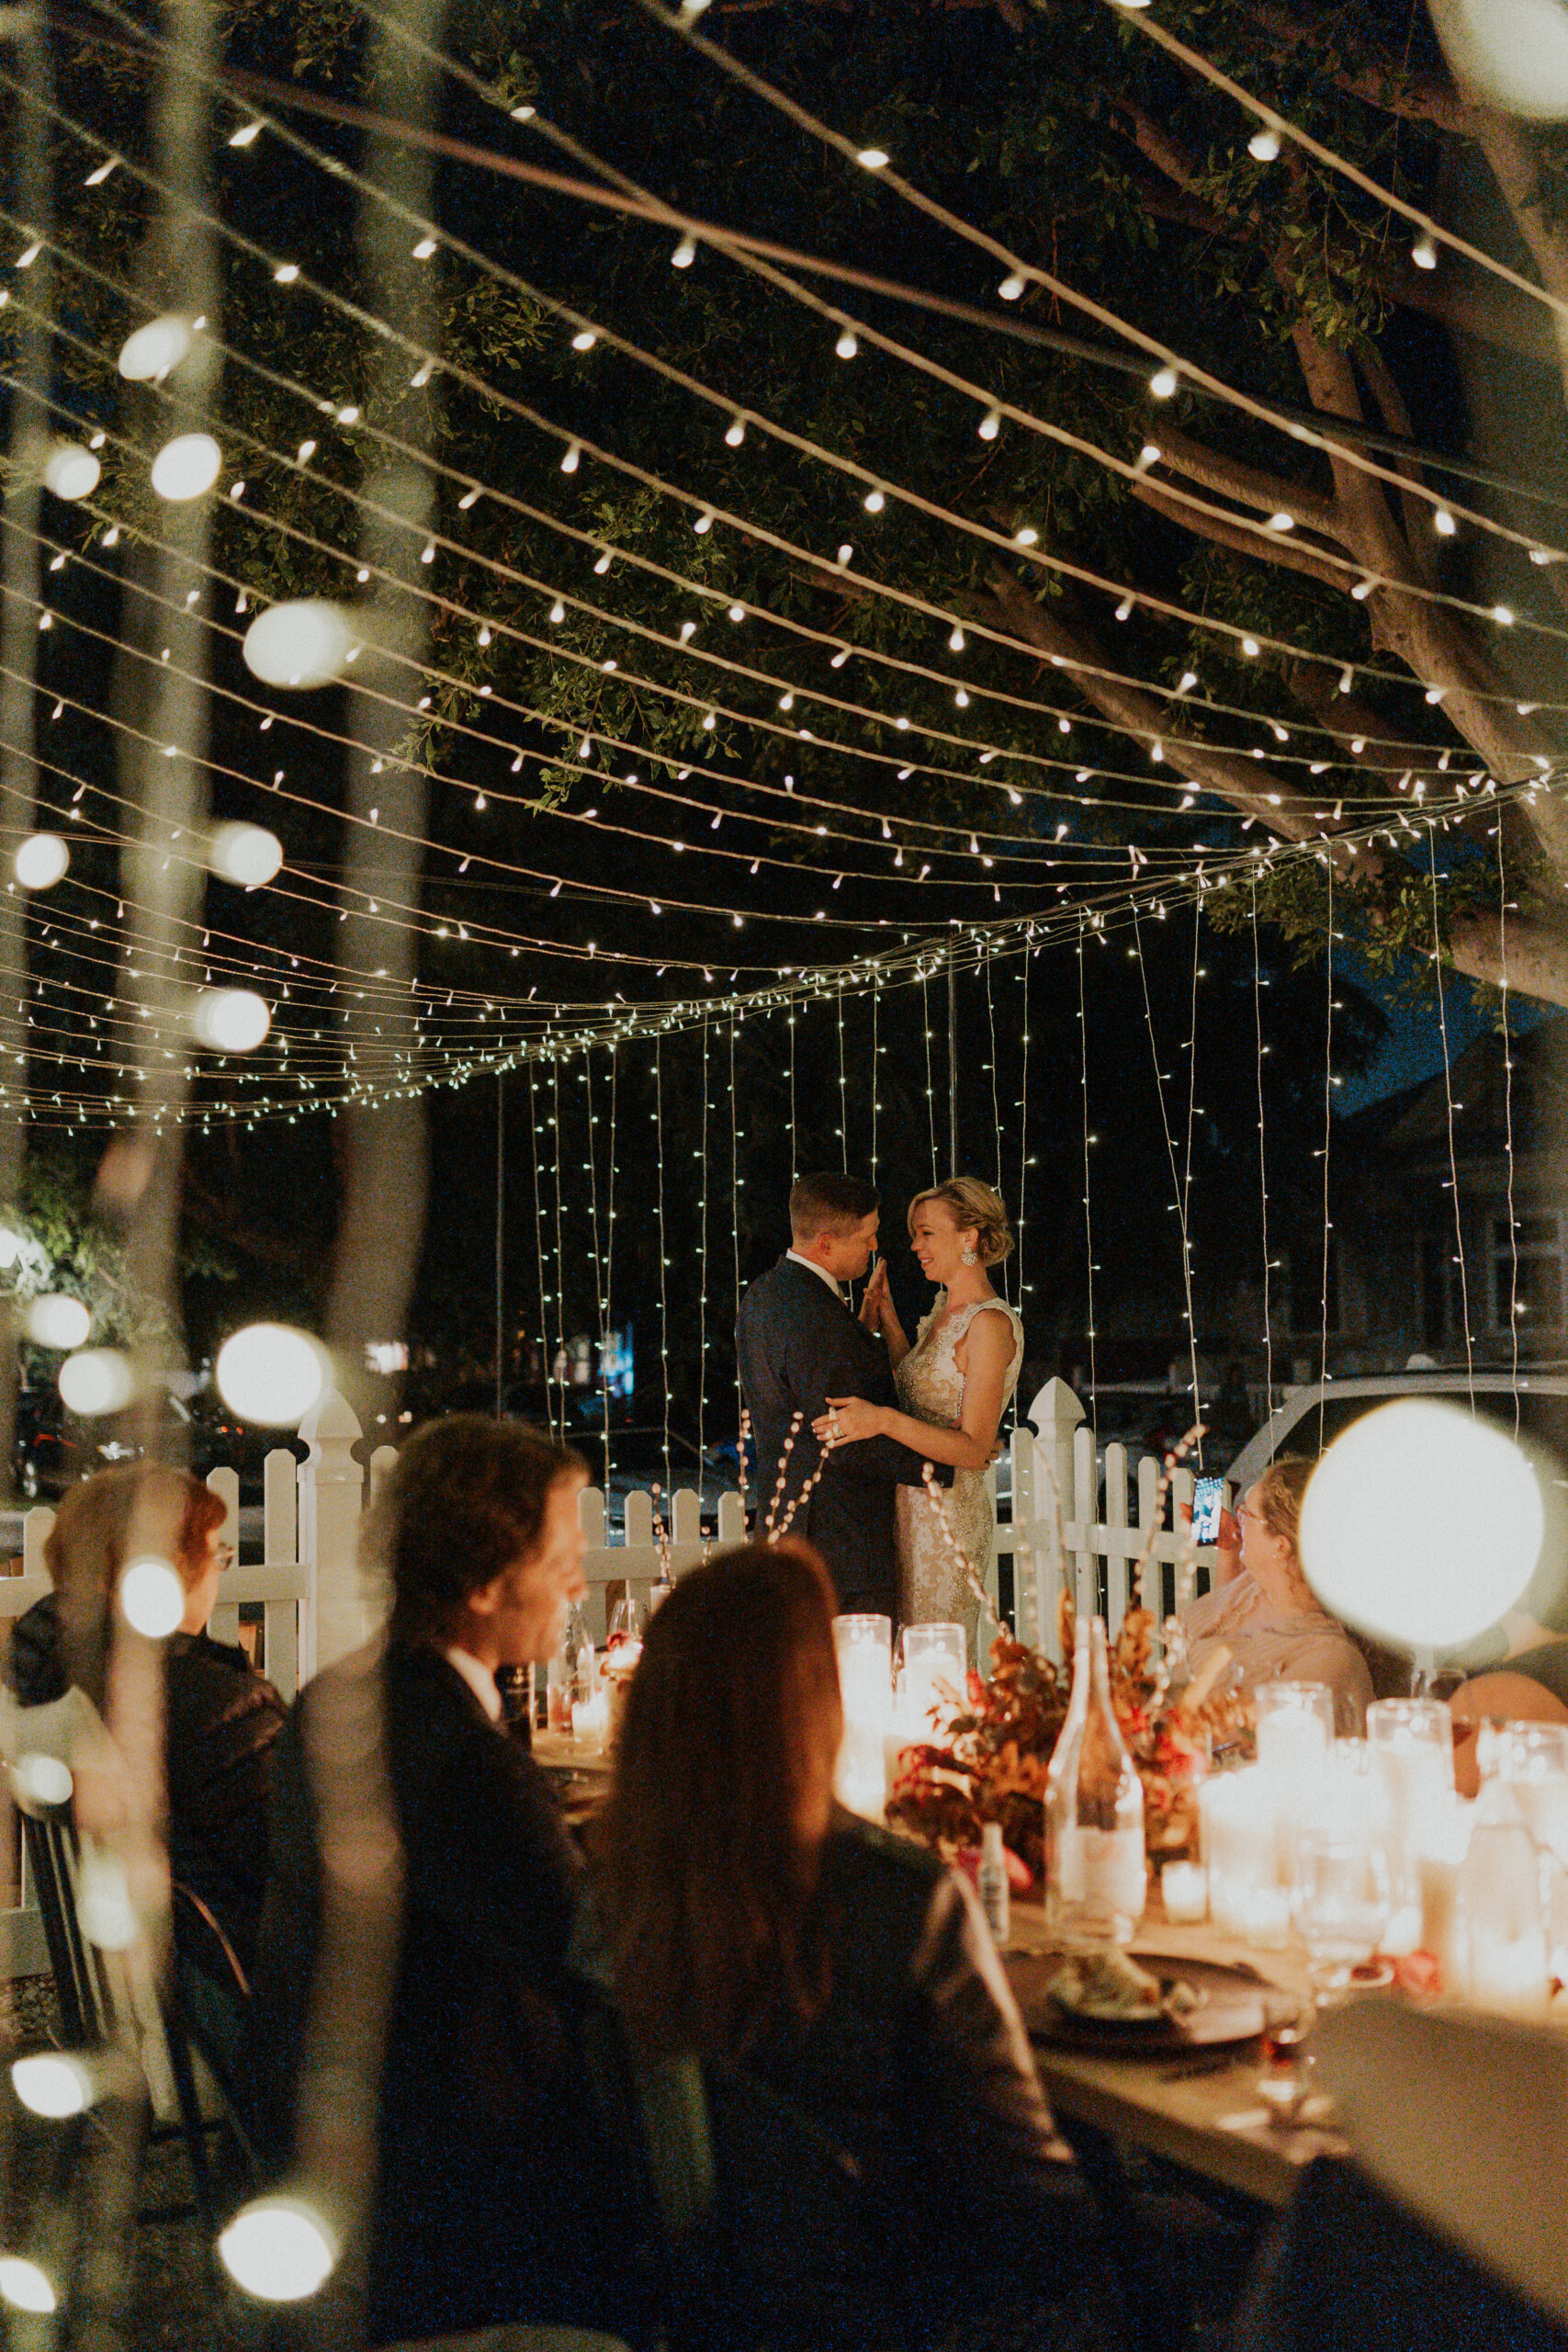
My husband created a string light canopy for our intimate Los Angeles wedding. It was one of my favorite details of our big day!
I remember as we set it up the night before, some neighbors walked by and said it was the most beautiful thing they'd ever seen!
You won't regret creating this for your wedding or special event. Check out the tutorial below.
KEEP READING TO LEARN HOW TO DIY A STRING LIGHT CANOPY
Materials Needed FOR A DIY StrinG LIGHT CANOPY
- 3-way corner up angle canopy fittings: These galvanized steel fittings are designed for 3/4" EMT pipe and are perfect for constructing a low-peak canopy frame.
- 4-way flat edge canopy fittings: These fittings are designed to connect four EMT pipes at a single point, allowing you to extend the canopy's length.
- 3/4" EMT pipe: Available at most hardware stores, this pipe will serve as the structural framework.
- Canopy foot pads: These are essential for stabilizing the frame and securing it to the ground.
- String lights: Opt for warm white LED fairy lights or icicle lights for a soft, glowing effect. (We used warm white lights in this length.)
- Extension cords: To power your lights.
- Ladder: For safe installation at height.
Step-by-Step INSTRUCTIONS
STEP 1: Assemble the Base Frame
Start by measuring your outdoor space to determine how large you want your string light canopy to be. Precision is key here: accurate measurements ensure your frame will be level and symmetrical.
Cut the 3/4" EMT pipes to the lengths needed for the sides, top, and any extensions you plan to add.
Next, insert the pipe ends into the 3-way corner up angle canopy fittings to create each corner. These fittings make it easy to assemble a stable, low-peak canopy structure.
Tighten the eyebolts on the fittings to ensure a secure connection. Double-check that the frame is level and square before moving on—this makes the rest of the setup much easier and ensures your string light canopy looks professional.
Tip: If your outdoor surface is uneven, consider using small shims under the foot pads or adjusting pipe lengths slightly so the frame sits level.
STEP 2: Extend the Frame with 4-Way Fittings
If you want a longer or wider string light canopy, incorporate 4-way flat edge canopy fittings.
These allow you to add additional EMT pipes in the middle of the frame, creating extra sections for lights.
This is especially helpful for covering a long patio, large yard, or multiple seating areas.
Insert the ends of the EMT pipes into the 4-way fittings and connect your extension pipes.
Make sure all connections are tight. The extra support provided by the 4-way fittings keeps the frame sturdy even when draped with multiple strands of lights.
Tip: Plan the placement of these fittings before cutting pipes to ensure symmetry and proper spacing for hanging lights.
STEP 3: Install the Foot Pads
Foot pads are essential for keeping your string light canopy stable, especially outdoors.
Attach them to the bottom of each vertical pole and anchor them to the ground using stakes, bolts, or weighted bases.
This prevents tipping and keeps the frame secure even in light wind.
Troubleshooting tip: If the frame wobbles, double-check that each foot pad is level and that the ground is firm. Adding sandbags or extra weights at the base can also improve stability without altering the aesthetic.
STEP 4: Install the String Lights
Begin at one corner of the frame and string the lights across the top, moving systematically from one side to the other.
Secure the lights using ball bungees, tarp clips, or zip ties, keeping the strands evenly spaced.

Tip: For a more whimsical look, vary the height slightly so the lights dip in soft curves across the canopy. This gives the effect of floating stars or twinkling fairy lights.
Troubleshooting tip: Turn on and test the lights to make sure your spacing is aesthetically pleasing before securing their placement.
STEP 5: Power the Lights
Plug the string lights into extension cords and connect to a safe power source.
Test all strands to ensure they illuminate properly.
Adjust any hanging sections as needed for even coverage and aesthetic balance.
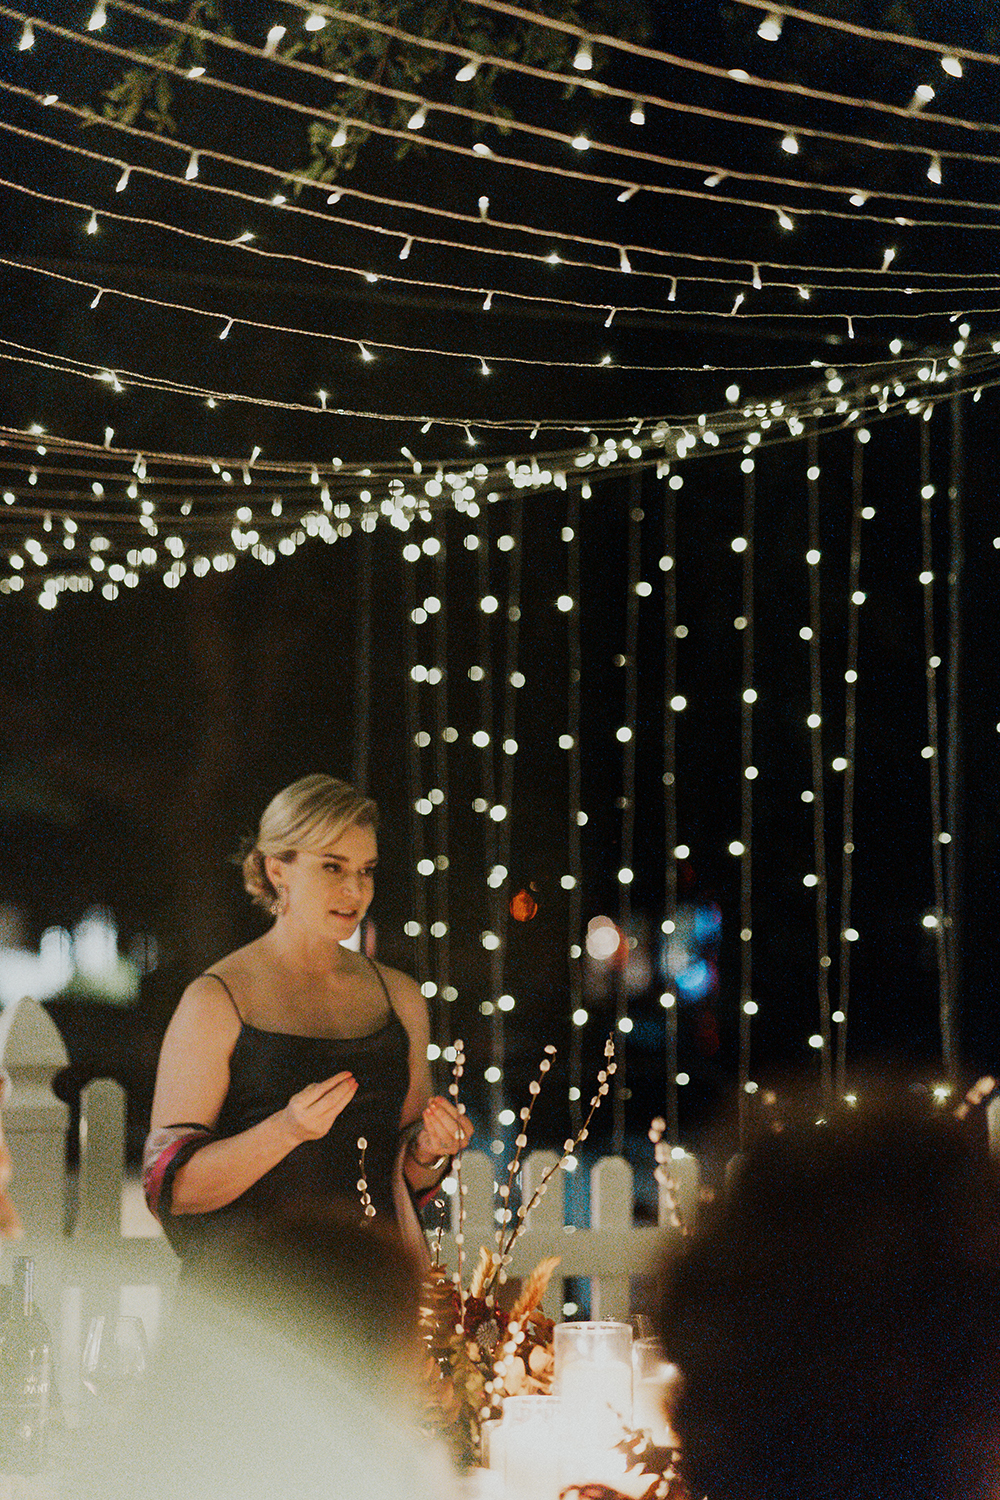
Tip: If possible, use a dimmer or smart plug to control the brightness. Dimming the lights slightly adds a soft glow, perfect for romantic or evening events.
STEP 6: Optional Decorative Enhancements
- Sheer fabric or tulle: Drape the fabric over the string lights so it cascades gently, creating a soft, romantic look. Secure the fabric at the top with ball bungees or clips.
- Greenery or florals: Weave faux vines, silk flowers, or seasonal greenery through the lights for added texture and color.
- Lanterns or hanging decor: Hang small lanterns, paper pom-poms, or ribbons for a whimsical effect.
- Layered lighting: Combine your canopy with ground lanterns, fairy lights in trees, or uplighting for a multi-dimensional glow.
STEP 7: Final Check and Safety
Walk around the canopy and check for uneven lights or loose fittings.
Ensure cords are safely tucked away and that the frame is stable.
A well-constructed string light canopy should feel solid and look magical from all angles.
Tips for Success
- Safety first: Ensure all electrical connections are secure and that cords are not in high-traffic areas to prevent tripping hazards.
- Test before finalizing: Plug in the lights before securing everything to ensure they work and to check their overall aesthetic.
- Use battery-operated lights: If access to power sources is limited, consider using battery-operated string lights for flexibility.
- Maintain balance: Ensure the lights are evenly distributed to avoid any sagging or uneven areas.
- Give yourself ample time: Construction is a simple process but getting the lights spaced correctly can take some patience.
FINAL THOUGHTS
A string light canopy is more than just a decorative element—it’s a way to transform any outdoor space into a magical retreat that guests will remember long after the event ends.
Whether you’re hosting a wedding, birthday, anniversary, or backyard party, this DIY project adds warmth, charm, and a cozy glow that elevates the entire atmosphere.
By following this step-by-step tutorial and using the right fittings, pipes, and lights, you can create a professional-looking canopy without breaking the bank.
Bring your vision to life and wow your guests with a string light canopy that transforms your outdoor space.
So grab your pipes, lights, and fittings, and watch as your backyard, patio, or venue becomes a glowing, picture-perfect memory to be made!
You might also like to read:
Our Intimate Blue Moon DIY Wedding
ENJOY CREATING YOUR DIY String Light Canopy
MORE POSTS YOU'LL LOVE
This post may contain affiliate links, which means I'll receive a small commission if you purchase through my link. Read the full disclosure.
